
Instructions For Installing Your New Toilet Seat
You don’t need a remodeler for everything! We have put together a list of everything you need to successfully install a toilet seat yourself. If you need further assistance you can contact us here at MHM Remodeling.
1. Tools Needed
- Rag for cleaning
- Flat or Phillips head screw driver
- Adjustable pliers
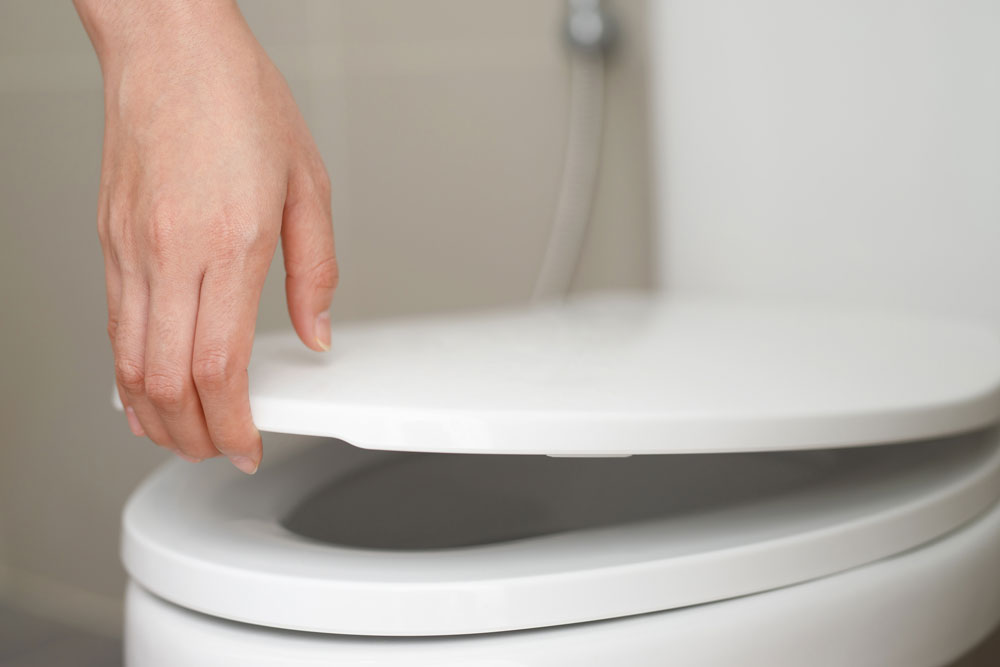
2. Installation-Process
- Using a flat head screwdriver pry open each cap x2 (at the back of the seat).
- Hold the bolt or wing nut directly underneath the seat screw (use your adjustable pliers).
- Unscrew both bolts and discard (your new toilet seat comes with new hardware).
- Remove and discard the old toilet seat.
- Clean toilet seat area of the toilet.
- Time to install your new seat.
- Seat prep – If necessary (kohler seats) install both seat seat cushions, directly under the front of the seat. In some cases there will not be seat cushions.
- Align your new toilet seat with the bowel.
- Install the 2 provided screws & bolts at the back of the seat – through the toilet bowel (same location as the where you removed the old screw & bolt).
- Re-check seat alignment and tighten the provided bolts with your screwdriver and pliers.
For more information on toilet seat styles, visit the official Kohler website.